Tips for Flossing Your Teeth
Master Your Flossing Technique: A Complete Guide to Better Oral Health
Brushing twice a day is important, but it only cleans about 60% of your tooth surfaces. The remaining 40% — the spaces between your teeth where bacteria love to hide — require a different approach. That’s where proper flossing techniques come into play.
Many people either skip flossing entirely or use improper methods that limit its effectiveness. Research shows that only 30% of Americans floss daily, despite overwhelming evidence of its benefits for oral hygiene. Poor flossing habits can lead to gum disease, tooth decay, and even more serious health complications.
At Experience Dentistry, we believe that excellent oral health starts with the right knowledge and techniques. Our team combines state-of-the-art technology with compassionate patient care to help you achieve optimal dental health. This comprehensive guide will teach you everything you need to know about effective flossing, from basic techniques to advanced tips for challenging situations.
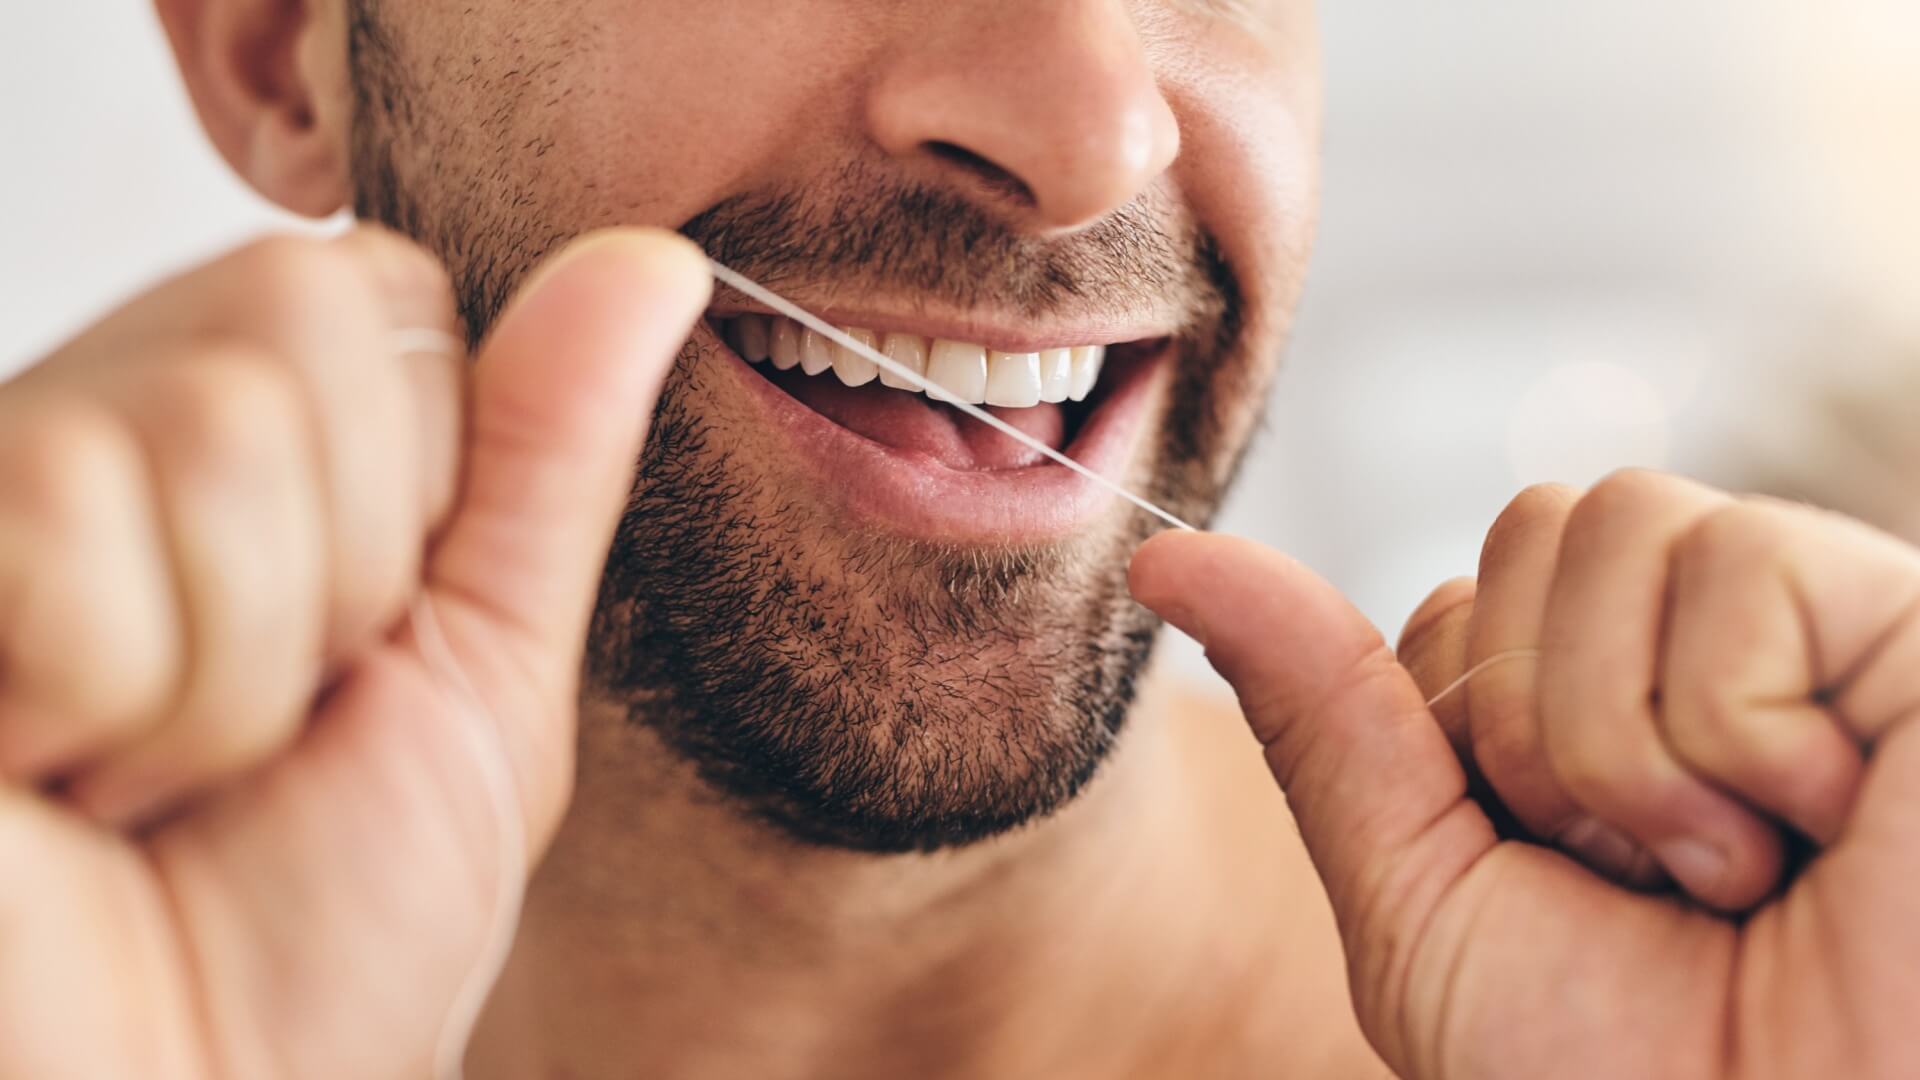
Step-by-Step Flossing Technique
1. Preparing Your Floss
Start with approximately 18 inches of dental floss. This length provides enough clean sections for your entire mouth while giving you adequate control. Cut the floss with clean scissors or tear it from the dispenser using the built-in cutter.
2. Wrapping for Maximum Control
Wind most of the floss around your middle fingers, leaving about 1-2 inches of working length between your thumbs and index fingers. This grip gives you precise control while keeping your hands steady. Some people prefer wrapping around their index fingers instead — choose whichever feels more comfortable and secure.
3. Guiding the Floss Into Position
Gently guide the floss between your teeth using a subtle back-and-forth sawing motion. Never snap or force the floss against your gums, as this can cause pain, bleeding, and tissue damage. If you encounter resistance, try a thinner floss or consider using a floss threader for tight spaces.
4. Creating the Perfect “C” Curve
Once the floss reaches your gum line, curve it into a C-shape around one side of the tooth. This curvature ensures the floss hugs the tooth surface and reaches below the gum line, where plaque accumulates. The C-shape is crucial for effective plaque removal and shouldn’t be skipped.
5. The Cleaning Motion
Slide the floss up and down against the tooth surface, making sure to go slightly below the gum line. Use gentle but firm pressure to scrape away plaque and food particles. Perform this motion 2-3 times on each side of every tooth before moving to the next space.
6. Using Fresh Sections
Move to a clean section of floss for each new tooth space. This prevents transferring bacteria from one area to another and ensures optimal cleaning effectiveness. As you progress through your mouth, unwind fresh floss from one finger while winding the used section onto the other.
7. Don’t Forget the Back Molars
Many people neglect the backside of their rear molars because they’re harder to reach. These areas are particularly prone to plaque buildup, so take extra care to clean them thoroughly. You may need to adjust your finger positioning or open your mouth wider for better access.
Common Flossing Mistakes and How to Avoid Them
- Mistake 1: Using too little floss. Short pieces of floss don’t provide enough clean sections for your entire mouth. Always start with 18 inches to ensure you’re using fresh floss for each tooth.
- Mistake 2: Snapping floss against gums. Aggressive flossing can damage delicate gum tissue and cause bleeding. Use gentle, controlled movements instead of forcing the floss into place.
- Mistake 3: Only moving the floss up and down. Simply moving the floss straight up and down misses the curved surfaces of your teeth. Always create that important C-shape to clean effectively.
- Mistake 4: Flossing after brushing. Studies indicate that flossing before brushing is more effective at removing plaque and allows fluoride from toothpaste to better reach between teeth.
- Mistake 5: Giving up when gums bleed. Initial bleeding is common if you’re new to flossing or haven’t flossed in a while. Consistent, gentle flossing usually stops bleeding within a week or two.
Building Your Daily Routine
Consistency matters more than perfection when establishing flossing techniques. Start by flossing at the same time each day — many dental professionals recommend evening flossing to remove the day’s accumulation of plaque and food particles.
If you find flossing challenging or uncomfortable initially, start with just a few teeth and gradually work up to your entire mouth. The key is developing the habit rather than achieving perfection immediately.
Consider keeping floss in multiple locations — your bathroom, car, or desk drawer — to make it more convenient and help you remember to floss regularly.
Taking the Next Step Toward Better Oral Health
At Experience Dentistry, our team is committed to helping you achieve optimal oral health through education, prevention, and compassionate care. We combine advanced technology with a friendly, supportive environment to ensure every patient receives the highest standard of dental care.
Regular dental checkups enable us to monitor your oral health progress, provide professional cleanings, and offer personalized recommendations tailored to your specific needs. Whether you’re perfecting your flossing technique or addressing more complex dental concerns, our experienced team is here to support your journey toward excellent oral health.
Have questions, suggestions, or interested in making an appointment? Contact Experience Dentistry today to schedule your visit and take the next step toward a healthier, more confident smile.